Beer has been a part of human history for thousands of years and is enjoyed today all over the globe. But how is the golden brew actually made? The process from grain to finished glass of beer is both fascinating and surprisingly craft-oriented, combining nature, chemistry, and creativity. In this article, you’ll get an easy-to-understand overview of how beer is brewed – from the first steps with the grain to pouring the foaming result into your glass.
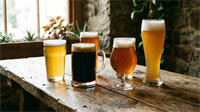
Beer consists mainly of four simple ingredients: malt (often from barley), hops, yeast, and water. Each ingredient plays a unique role in flavor, aroma, and appearance:
Additionally, spices, fruit, or other flavorings can be added for special beer types, but this is not necessary for classic beer.
Beer brewing may seem complicated, but roughly follows six main steps: mashing, wort boiling, cooling, fermentation, maturation, and bottling. Below, we go in depth with each step in a way that everyone can follow – even without prior experience.
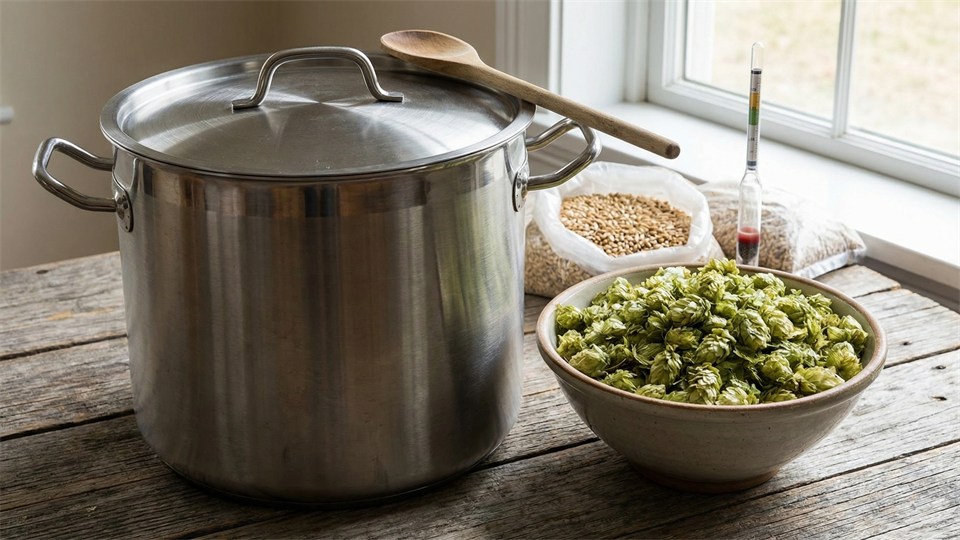
The first step is to convert the starch in the malt into sugar, which the yeast can later consume. This is done by coarsely crushing the malt and mixing it with hot water (typically 62–68 °C) in a large pot. This mixture is called the mash. Over about an hour, the sugar is released from the grain into the water, resulting in a sweet liquid – the wort.
After mashing, the grain is strained out so only the wort remains. This doesn’t require advanced equipment; a large pot and a sieve can do the job for beginners, while more advanced brewers use special mash tuns.
The next step is to boil the wort. Here, hops are added, which contribute bitterness, aroma, and help preserve the beer. Wort boiling typically lasts 60–90 minutes. The earlier the hops are added in the boil, the more bitterness, while hops added late give more aroma.
During the boil, unwanted substances evaporate, and the liquid is sterilized. To achieve different flavor profiles, hops can be added several times along the way – for example, once at the beginning for bitterness and once near the end for aroma.
After boiling, the wort must be quickly cooled down to about 18–24 °C to prepare it for yeast addition. Rapid cooling prevents unwanted bacteria and gives the yeast the best conditions. This can be done by placing the pot in an ice bath or using a special wort chiller, where cold water runs through a tube in the wort.
It is important that all equipment that comes into contact with the cooled wort is completely clean and sanitized. Otherwise, the beer can be ruined by unwanted microorganisms.
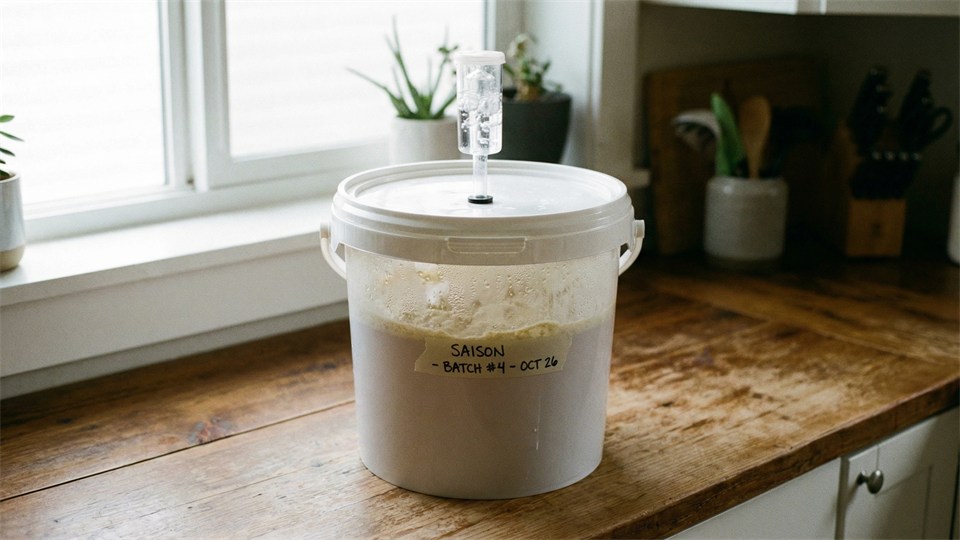
When the wort is cooled, it is poured into a fermentation vessel, and yeast is added. Fermentation begins quickly: the yeast converts the sugar in the wort into alcohol and carbon dioxide. At the same time, flavor compounds develop that give the beer character.
Typically, primary fermentation lasts 1–2 weeks at room temperature (for top-fermented beers like ale) or cooler (for bottom-fermented beers like lager). During fermentation, a layer of foam forms on top, and carbon dioxide bubbles out via an airlock. It is important not to open the vessel unnecessarily during this process, as it can contaminate the beer.
After the first fermentation, the beer is carefully transferred to a new, clean vessel to remove most of the yeast and any sediment. Now the beer matures – this phase is also called maturation or secondary fermentation. Here, the flavor is rounded out, and any unwanted byproducts disappear. Maturation can last from a couple of weeks to several months, depending on the beer type.
Some beer types, like pilsner, require longer and colder maturation, while for example wheat beer can often be enjoyed young. Maturation can take place in fermentation buckets, glass carboys, or steel tanks.
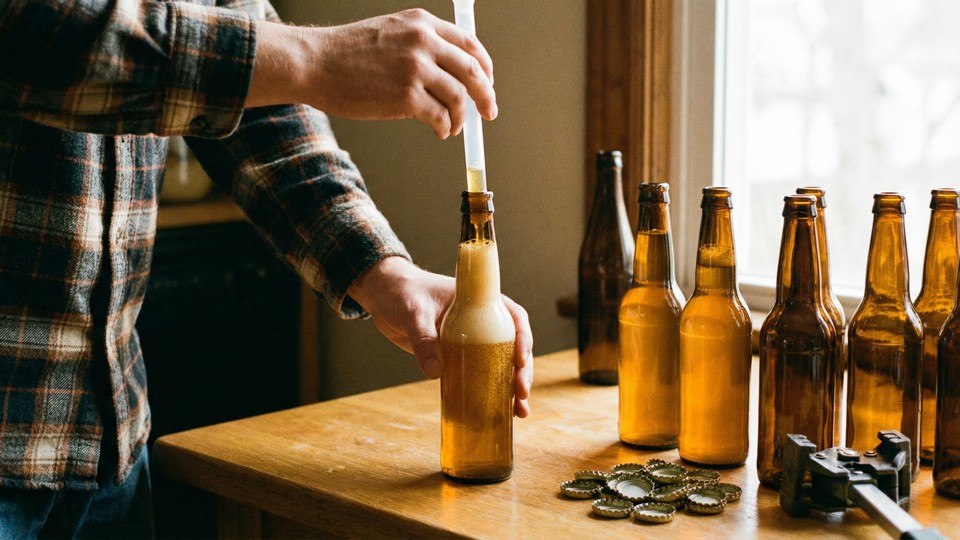
Now the beer is ready to be bottled or kegged. Before bottling, a small amount of sugar is often added (bottle priming), so that carbon dioxide forms as the beer sits in the bottle. The bottles must be thoroughly cleaned and sanitized. The beer is carefully poured into bottles, sealed tightly, and allowed to stand for another 1–2 weeks so the carbonation can develop.
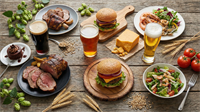
After this time, the beer is ready to enjoy. Homebrewers can also keg directly if they have the equipment. The finished beer is served cool, and now you can enjoy the fruit of your labor!
Although the basic process is the same, beer brewing can be varied endlessly. Here are some examples of how the brewer can put their own stamp on the beer:
Even small adjustments in temperature, time, or quantities can make a big difference to the finished beer.
It is possible to brew beer at home without investing in expensive equipment. Here is a simple basic list for beginners:
Brewing equipment is available in kits at beer brewing shops, but most of it can be found in ordinary kitchens. The most important things are good hygiene and precise temperatures.
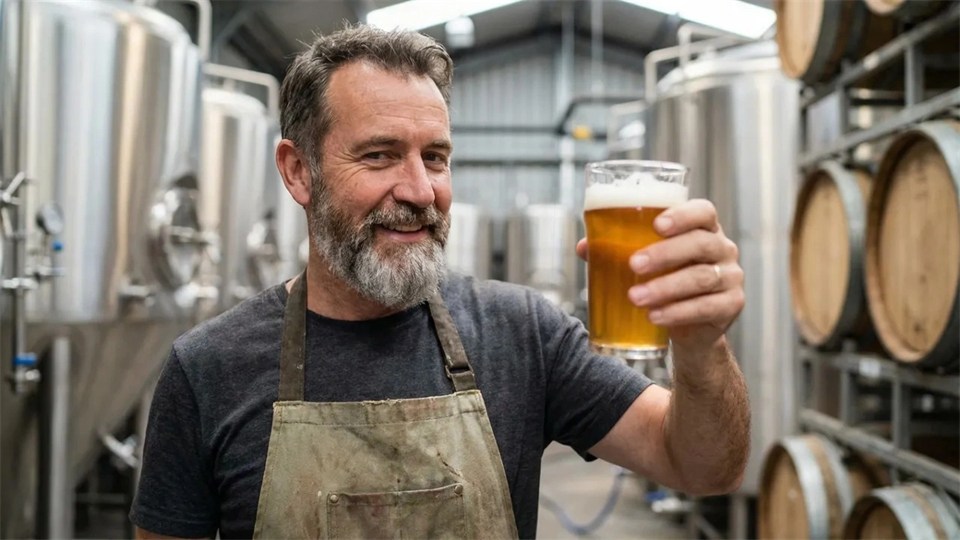
Beer brewing is both simple and complex at the same time – simple because the basic process is easy to learn, and complex because the possibilities for variation and immersion are almost endless. Whether you dream of brewing a classic pilsner, a dark porter, or a fresh wheat beer, it all starts with understanding the basic steps and ingredients. With patience, curiosity, and a bit of practice, anyone can get started brewing their own beer at home. And maybe your next homebrew will become your family’s or friends’ new favorite?
Enjoy – and cheers to the art of beer brewing!